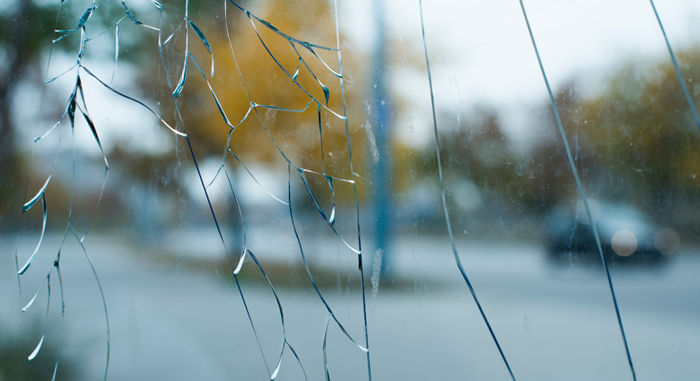
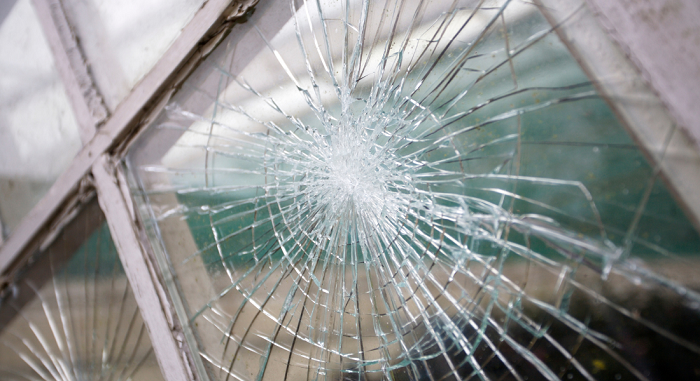
How to Repair Glass Crack Window
Are you tired of staring at that pesky cracked glass window that's been bothering you for weeks? Are you worried about the safety hazards it poses? Fear not, my glass-loving friends, because repairing a cracked glass window is easier than you think! In this blog, we'll explore simple and effective ways to repair cracked glass windows at home and keep your space looking new and safe. So, let's dive into the world of How To Repair Cracked Glass!
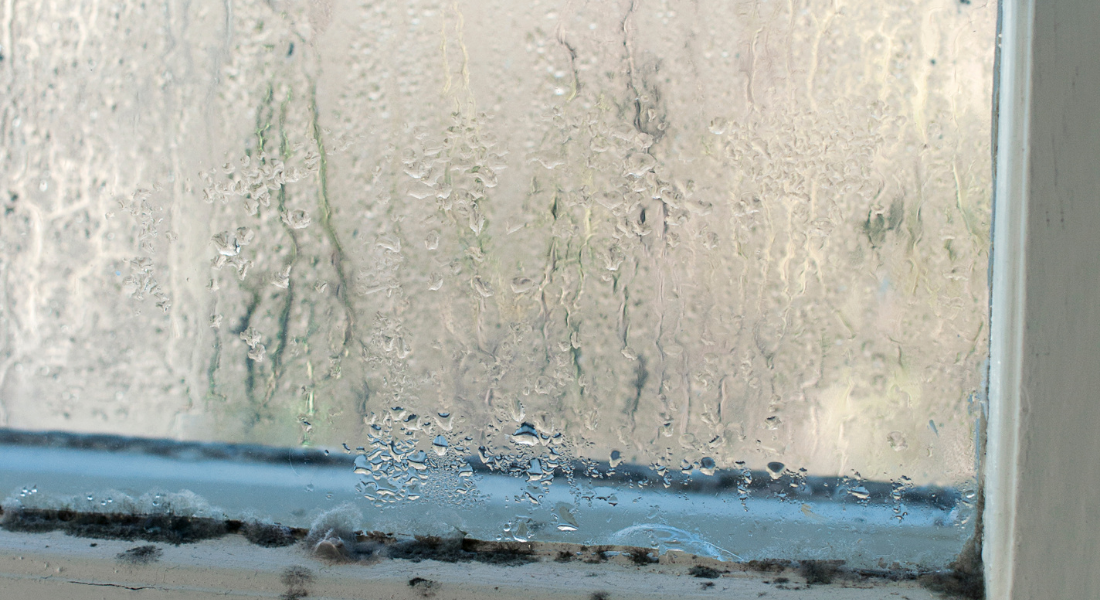
Assess the Damage:
Assessing the damage is an important step because it will determine whether you can fix the problem yourself or if you need to call in a professional. If you decide to tackle the repair yourself, make sure you have all the necessary tools and materials before you begin. Keep in mind that attempting to fix a larger stress cracks or shattered glass on your own could cause further damage or even result in injury, so it's important to exercise caution and seek professional help if needed.
Gather Your Materials:
Before you begin gathering your materials, make sure you have a clear understanding of the size and location of the crack in your glass window. This will help you determine how much of each material you will need.

Additionally, you may need to use a suction cup or a vacuum pump to help remove any air pockets that may be present in the crack. By gathering all the necessary materials and tools ahead of time, you'll be able to work more efficiently and ensure that your repair job is successful.
Clean the Glass:
Cleaning the glass is a crucial step that should not be skipped. Dirt or debris on the surface of the glass can prevent the epoxy mixture from bonding effectively, resulting in a subpar repair job. When cleaning the glass, it's important to use a high-quality glass cleaner that won't leave behind any residue. You can use a cloth or paper towel to wipe away the cleaner, but make sure it's clean and lint-free to avoid leaving any fibers on the glass surface.
Additionally, use a piece of masking tape to cover the crack on both sides of the glass. This will help prevent any epoxy from seeping out of the crack while you're repairing it. Once you've thoroughly cleaned the glass and covered the crack with masking tape, you're ready to move on to the next step.
Apply Masking Tape:
Applying masking tape is a crucial step when repairing a cracked glass window. It protects the surrounding area and makes the repair process easier. When applying the tape, ensure that it covers the entire crack and extends a few inches beyond it on both sides. This will prevent any epoxy mixture from seeping out of the crack and onto the surrounding glass.
Moreover, make sure that the tape is applied evenly and without any air bubbles or creases. This will help create a smooth and seamless finish after the repair is complete. Once you've applied the tape, you're ready to move on to the next step.
Fill the Crack with Epoxy Mixtures:
Once you've mixed the epoxy, it's important to work quickly, as it will start to harden within a few minutes. You can use a toothpick or a small brush to carefully apply the epoxy mixture to the crack, filling it completely. Be sure to smooth out the surface and remove any excess epoxy that may have overflowed onto the masking tape.
Allow the epoxy to dry completely according to the manufacturer's instructions, which typically takes several hours. During this time, make sure the window is not disturbed and kept at room temperature to avoid any fluctuations in temperature that could affect the curing process.
Let the Epoxy Cure:
It's important to be patient and resist the urge to check on the repair too often. Any disturbances during the curing process can compromise the integrity of the repair and result in a weaker hold. Consider covering the repaired window with a piece of cardboard or a blanket to protect it from any accidental bumps or scratches. Once the epoxy has fully cured, you can carefully remove the masking tape from the window.
Remove the Masking Tape and Sand the Surface:
Sand the surface lightly to remove any rough edges and make the surface even. Be careful not to apply too much pressure as it could damage the glass. Wipe away any dust or debris with a clean cloth. Once the surface is smooth and clean, you can apply a clear coat of nail polish to the repair area. The clear nail polish will add an extra layer of protection to the repair and also give it a shiny finish. It's important to note that if the crack is still visible after the repair, you can repeat the process by applying more epoxy and repeating steps 6 and 7.
In conclusion, repairing a cracked glass window is a simple and affordable solution that can save you from the hassle and expense of replacing the entire window. However, if you're uncomfortable with the repair process or the crack is too large, it's best to call a professional glass repair service. A professional can assess the damage and recommend the best repair or replacement option for your specific type of glass, ensuring your safety and satisfaction. At Allnite Glass, we provide expert glass repair and replacement services for residential and commercial clients. Contact us today for a free estimate and let us help you keep your glass windows and doors looking new and safe!


Serving Areas
Clarksville, TN
Hopkinsville, KY
Nashville & Surrounding Areas
Working Hours
07:30 AM to 04:30 PM
Monday to Friday
Closed on Saturday & Sunday
Connect
1525 Ashland City Rd,
Clarksville, TN 37040